Phone
How To Remove a Cloud Water Patch Inside the Laptop Screen?
Nov
We’ve all been there – that heart-dropping moment when you spill water on your laptop, and suddenly, there’s a mysterious cloud on your screen. We’re going to unravel the secrets of removing a cloud water patch from inside the Laptop screen. So, let’s dive in!
To remove a cloud water patch inside your laptop screen, start by powering off and unplugging your device. Remove external accessories and drain residual liquid by flipping the laptop. Open the casing, clean affected areas with a soft, damp cloth, and inspect for mineral deposits. Dry thoroughly, reassemble, and power on. Follow preventive measures to avoid future spills.
Tips to Remove a Cloud Water Patch From Inside The Laptop Screen
Below, we have mentioned everything you need to know in order to remove a cloud water patch from inside the Laptop screen.
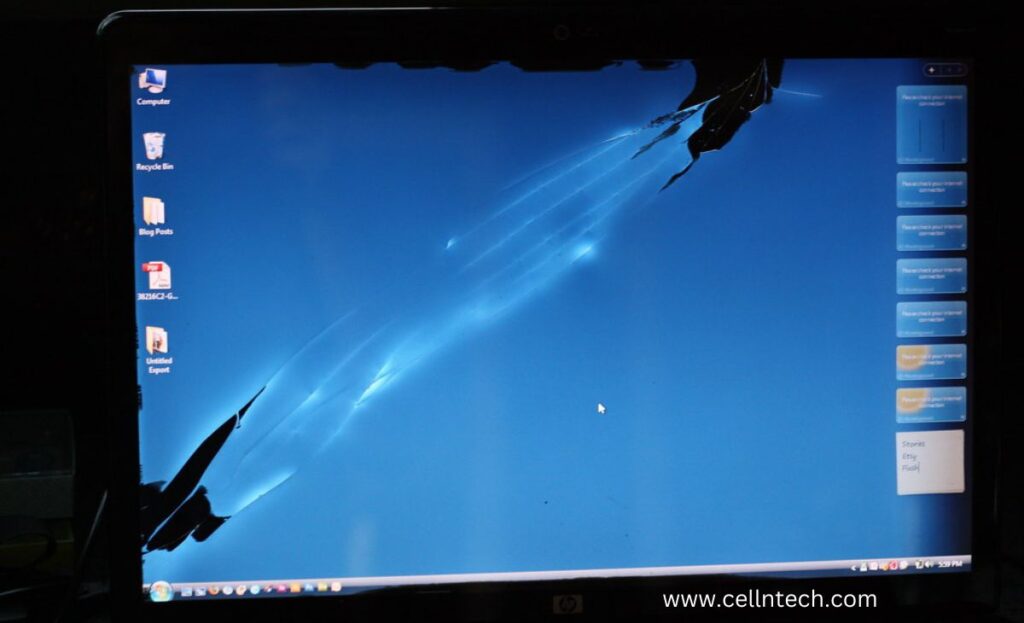
Understanding the Enemy: Cloud Water Patches
First things first, let’s understand what we’re dealing with. Cloud water patches occur when liquid finds its way into the layers of your laptop screen, creating a hazy or cloudy effect. It’s not just water; it often contains minerals and impurities that can wreak havoc on your display. Now, let’s get down to business and tackle this issue head-on!
Power Off and Unplug
The golden rule when dealing with any electronic mishap is to power off and unplug immediately. This prevents further damage and reduces the risk of a short circuit. Once you’ve done that, let’s move on to the next step.
Remove External Devices and Accessories
Disconnect any external devices and accessories connected to your laptop. This ensures a clear and safe workspace for the cleaning process. Plus, you wouldn’t want any additional components getting damaged during the laptop repair process.
Drain the Residual Liquid
Carefully flip your laptop over to allow any residual liquid to drain out. Be gentle – we don’t want to spread the liquid further into the internal components. Patience is key in this step; give it some time to ensure most of the liquid drains away.
Open the Laptop Casing
Now, the tricky part – opening the laptop casing. This step varies depending on your laptop model, so it’s essential to consult your device’s manual or seek guidance from CellNTech if you’re unsure. Once opened, you’ll have better access to the internals for cleaning.
Clean the Affected Areas
Grab a lint-free, soft microfiber cloth and carefully wipe the affected areas of the screen. Use a gentle touch to avoid scratching the display. If the cloudiness persists, you can moisten the cloth slightly with distilled water – emphasis on distilled, as it minimizes the risk of additional minerals causing harm.
Inspect for Mineral Deposits
Cloud water patches often leave behind mineral deposits that contribute to the haziness. Inspect the screen closely for any residue. If you spot deposits, create a solution of equal parts distilled water and white vinegar. Dampen a corner of the cloth with this solution and gently wipe away the deposits.
Dry Thoroughly
Before reassembling your laptop, ensure all components are thoroughly dry. Use a can of compressed air to blow out any lingering moisture from hard-to-reach areas. It’s crucial to wait until everything is completely dry to prevent further damage when you power on your laptop.
Reassemble and Power On
Once you’re confident that your laptop is dry and clean, carefully reassemble the casing following your device’s manual. Power on your laptop and cross your fingers – if you’ve followed the steps diligently, the cloud water patches should be a thing of the past.
Preventive Measures for the Future
Now that you’ve conquered the cloud water patches let’s talk about prevention. Invest in a keyboard cover, and be mindful of liquids around your laptop. If a spill does occur, act swiftly to minimize damage. CellNTech recommends keeping your laptop on a raised platform to reduce the risk of liquid reaching the internals.
In Conclusion
Removing cloud water patches from your laptop screen may seem like a daunting task, but with the right steps and a bit of patience, you can breathe life back into your device. CellNTech is here to guide you through the process and offer expert advice on laptop screen repair. Remember, prevention is key, so stay vigilant and keep liquids at a safe distance from your trusty laptop. Happy repairing!
Frequently Asked Questions
Q1. How do I get water spots off my laptop screen?
To remove water spots from your laptop screen, dampen a microfiber cloth with distilled water and gently wipe the affected areas. Avoid using excessive pressure, and ensure your laptop is powered off before cleaning.
Q2. How do I fix clouding on my laptop screen?
Addressing clouding on your laptop screen may involve adjusting display settings or applying gentle pressure to the affected area. If the issue persists, consult your device’s manufacturer for professional assistance.
Q3. What to do if water goes inside the laptop screen?
If water seeps inside your laptop screen, immediately power off the device, disconnect it from any power source, and let it dry thoroughly in an inverted position. Avoid turning it back on until you’re certain it’s completely dry to prevent potential damage
