iPhone
How To Clean The Sticky Side of iPhone Screen Protector?
Sep
Screen protectors, those unsung heroes of our beloved gadgets, silently shield our screens from the perils of scratches, smudges, and accidental drops, ensuring our devices stay sharp and operate smoothly. But what happens when the protector itself starts getting sticky, drawing in dust and marring your once-pristine screen? Fret not, dear reader; we’ve got your back!
To clean the sticky side of a screen protector, follow these steps. First, gently remove the protector from your device, using Scotch tape if necessary. Then, dampen a microfiber cloth with distilled water or a water-alcohol mix and wipe the sticky side. For stubborn spots, use a damp cotton swab. Employ Scotch tape to remove any lingering dust or lint. Finish by wiping with a dry microfiber cloth or lint-free paper towel. Reapply the protector, ensuring both it and your device’s screen are clean. Regular cleaning and quality protectors help prevent stickiness in the future.
In this friendly guide by Cell N Tech, we’ll go through the steps required to clean iPhone screen protector‘s sticky side without a hitch. Let’s dive right in!
Expert Tips on Cleaning The Sticky Side of A Screen Protector
Assemble Your Cleaning Arsenal
Before embarking on your cleaning adventure, make sure you have your cleaning supplies at the ready. Here’s what you’ll need:
- Microfiber Cloth: This gentle cloth will be your trusty sidekick for cleaning delicate screens.
- Distilled Water: Plain water is your go-to cleaning solution.
- Isopropyl Alcohol (70% or less): If water alone can’t cut it, alcohol can come to the rescue for those stubborn spots.
- Cotton Swabs: Perfect for precision cleaning.
- Scotch Tape: It’s your secret weapon for lifting pesky dust particles.
- Lint-Free Paper Towels: An alternative to a microfiber cloth for those who prefer it.
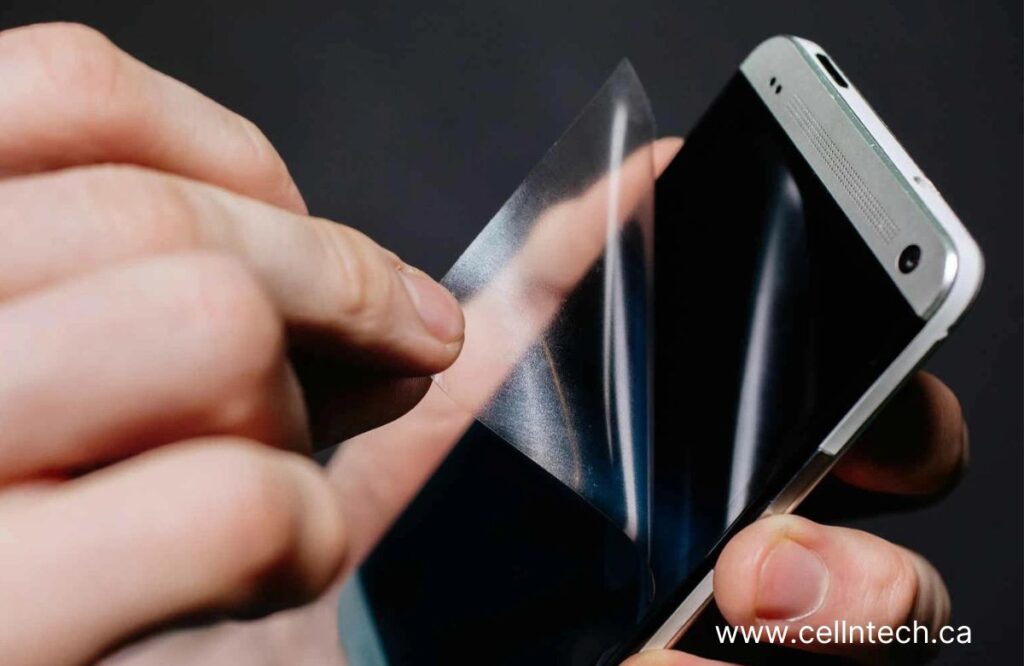
Bid Farewell to Your Screen Protector
The first step in this sticky saga is to bid adieu to your sticky screen protector. Exercise caution and take your time to avoid any mishaps. Gently lift a corner of the protector and commence its graceful removal. If you encounter any resistance, don’t fret; a piece of Scotch tape can come to your aid in the peeling process.
Show That Sticky Side Who’s Boss
Now that you have your screen protector liberated, it’s time to show that sticky side who’s boss. Follow these friendly steps:
- Step 1: Dampen your microfiber cloth with distilled water or a water-alcohol mix (50/50) and lovingly caress the sticky side of the protector. Remember, there’s no need to soak the cloth; a gentle dampness will suffice.
- Step 2: For those stubborn spots or lingering residue, a cotton swab dipped in water or alcohol can work wonders. Just be sure not to drown the swab; a light touch is all that’s needed.
- Step 3: To bid adieu to any remaining dust or lint, employ a piece of Scotch tape. Simply dab it onto the sticky side, and watch those tiny particles lift away in sweet surrender.
- Step 4: Give the protector one last tender wipe with a clean, dry microfiber cloth or a lint-free paper towel. Ensure that no streaks or lingering moisture are left behind.
The Grand Reapplication
With the sticky side now free of dust and grime, it’s time for the grand reapplication of your screen protector. Make sure your device’s screen is squeaky clean as well. Here’s the lowdown on correctly reapplying the protector:
- Step 1: Align the protector with your device’s screen, commencing from one edge. Use your finger or even a credit card (wrapped in a microfiber cloth) to press it down as you glide across the screen lovingly. This will help banish air bubbles and ensure a silky-smooth application.
- Step 2: Should stubborn bubbles dare to appear, wield your trusty credit card, still wrapped in that microfiber cloth, and gently urge them towards the edge, where they’ll meet their bubbly doom.
- Step 3: Once the protector has cozily settled in place, give it one final loving wipe with your microfiber cloth to whisk away any lingering smudges or fingerprints.
Tips to Maintain That Stickiness-Free Protector
Prevention, they say, is the best cure. Here are some tips for maintaining your screen protector’s stickiness-free status in the future:
Regular Cleaning Ritual
Make screen protector cleaning part of your regular device maintenance routine, and it shall reward you with its pristine charm.
Invest Wisely
Opt for a top-notch screen protector; they tend to be less prone to sticky situations.
Cool It Down
Excessive heat can transform adhesive into stickiness. Spare your device from hot environments to keep it feeling fresh.
Replace When Worn
Over time, screen protectors may lose their protective prowess. Replace them when needed to keep your screen in tip-top condition. Professional services by professional cell phone repair experts might be required in some cases.
Conclusion
Cleaning the sticky side of your screen protector is a breeze and can revive your device’s clarity and touch sensitivity. Armed with a few basic supplies and a dollop of patience, you’ll keep your screen protector looking and performing like a champ. Always remember, prevention is your ally, so regular maintenance is the golden ticket to keeping stickiness at bay. Say hello to your crystal-clear, smudge-free screen and wave goodbye to sticky troubles!
For more information, contact us or visit our website.
